ENDLESS
OBJECTS
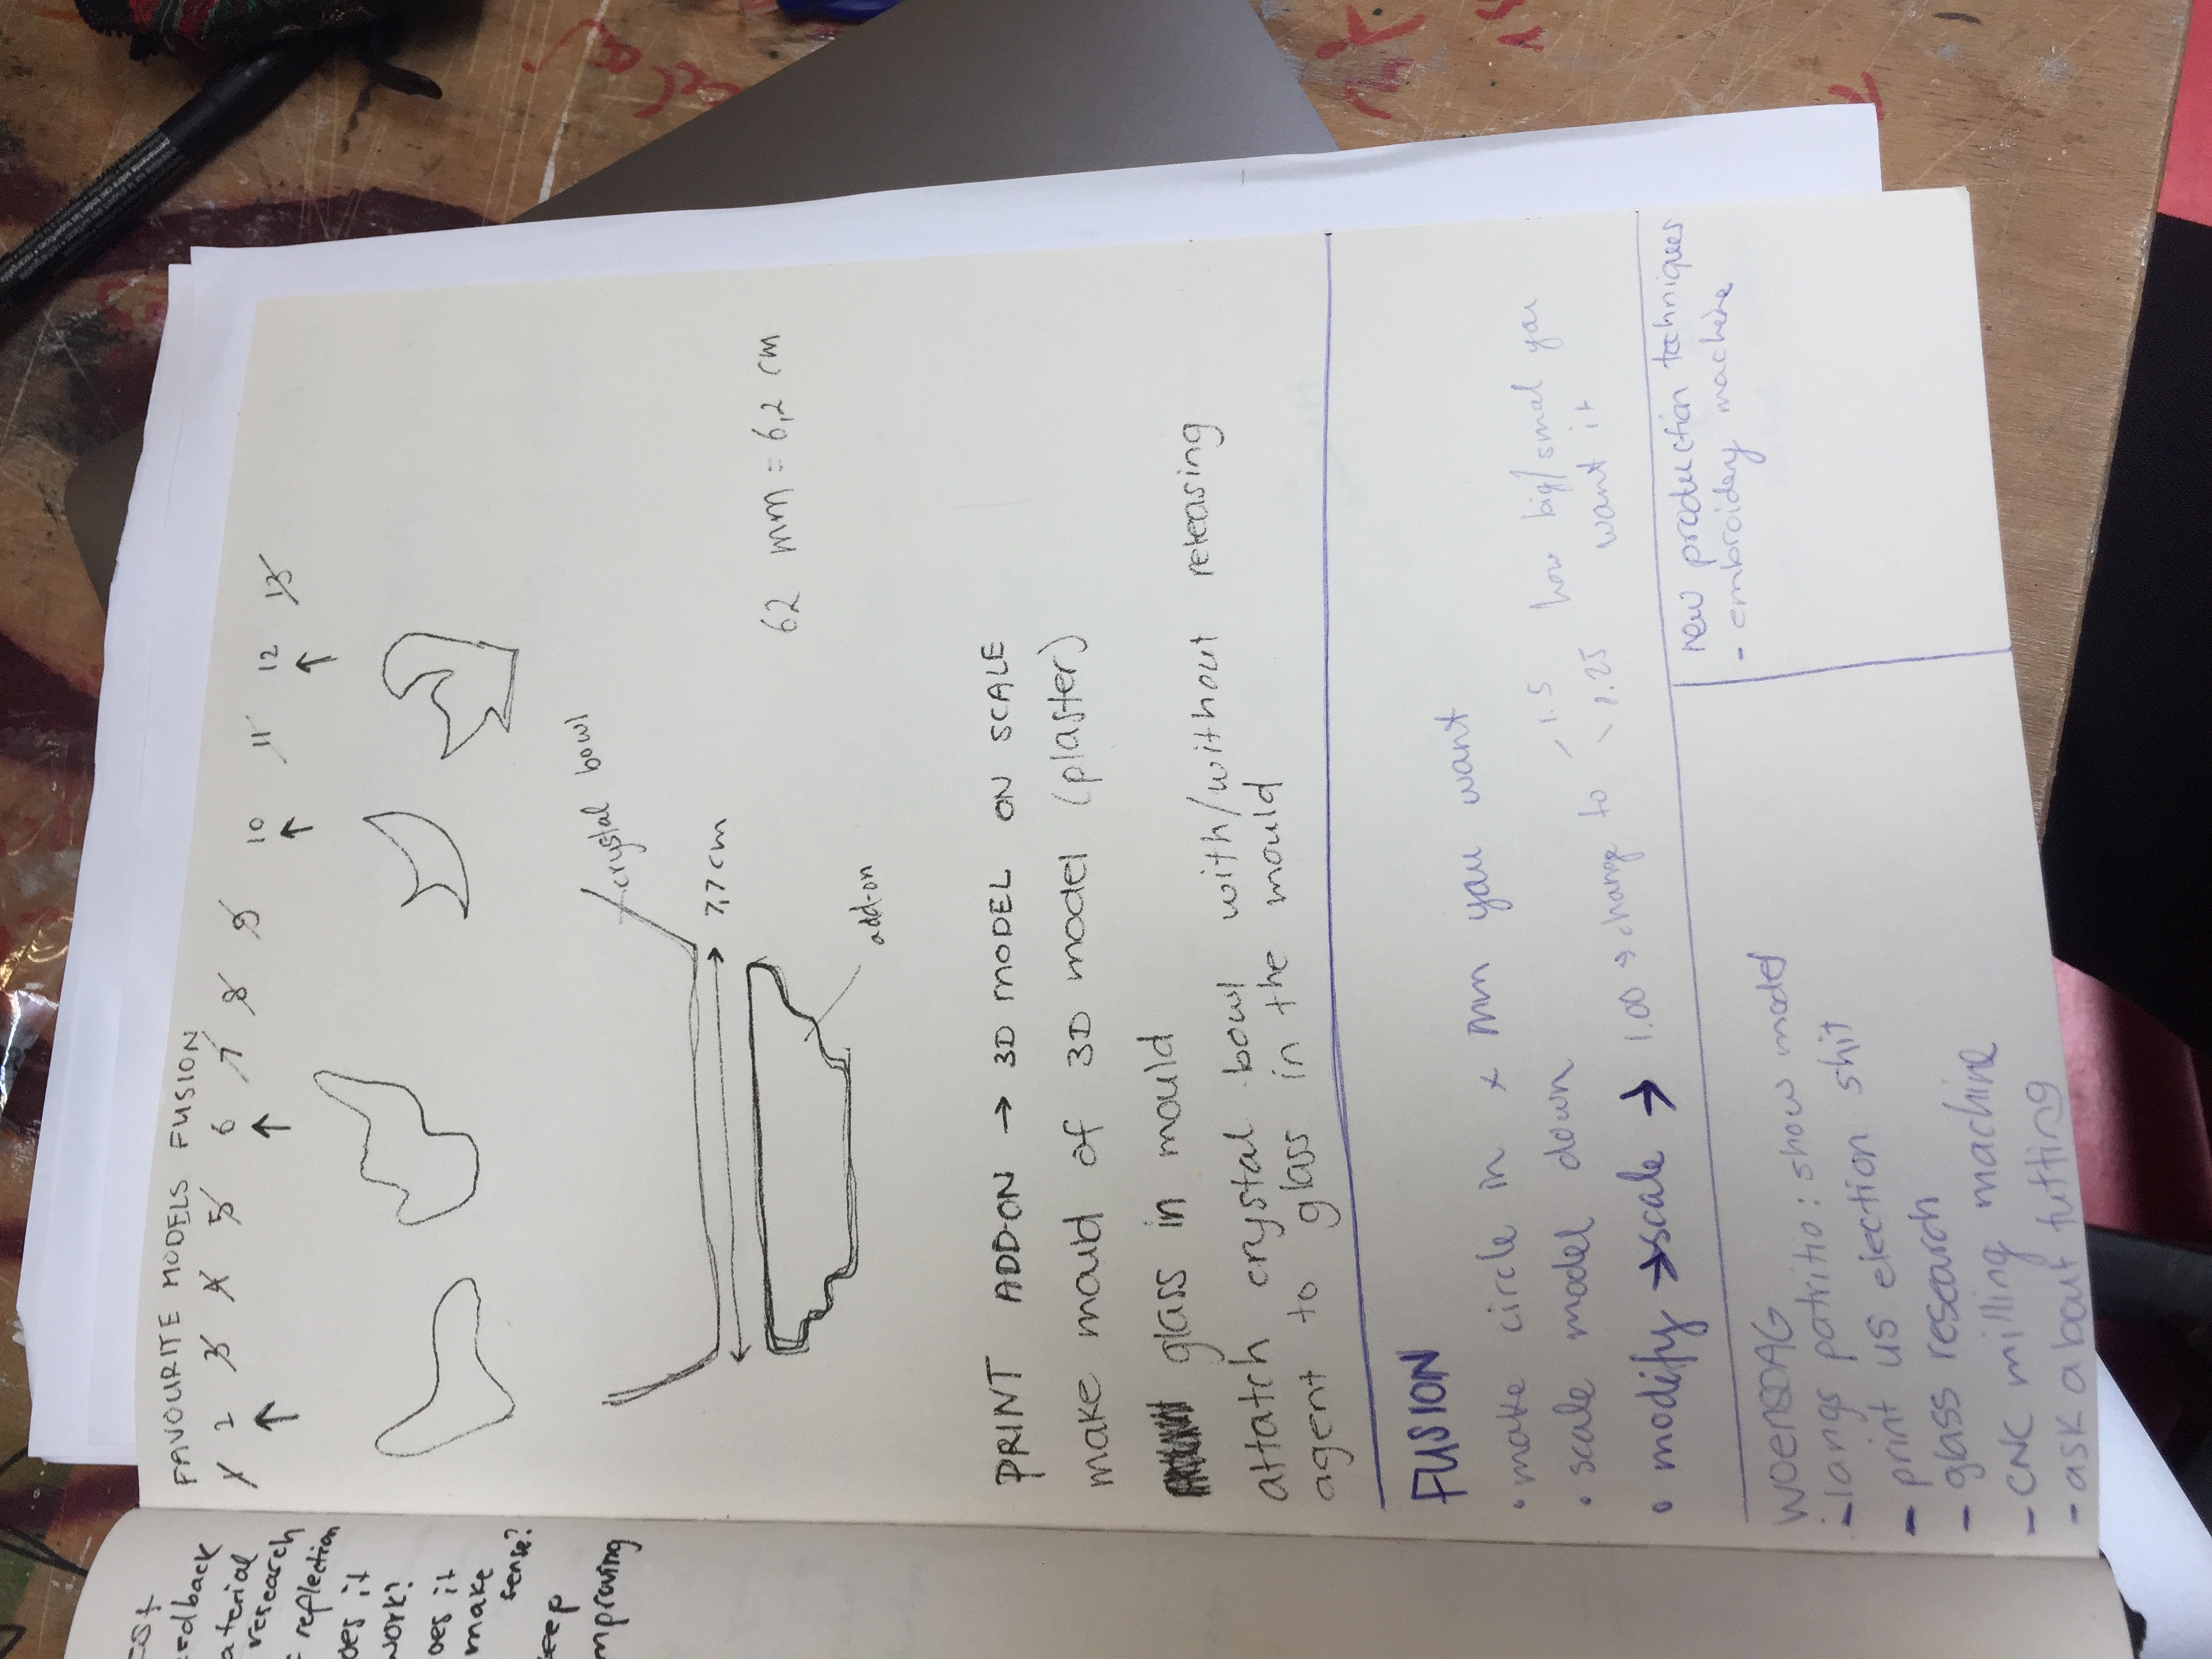
FUSION
watched a tutorial that showed me how to do this. but I kept having errors with the spline, when I aked Charlotte she told me that this is also not the way to go for the 3D printer and product design objects. so had to find a new way
designing the add ons for the bowl
trying to recreate the bowl
trying to figure out how to get what I want in a different way
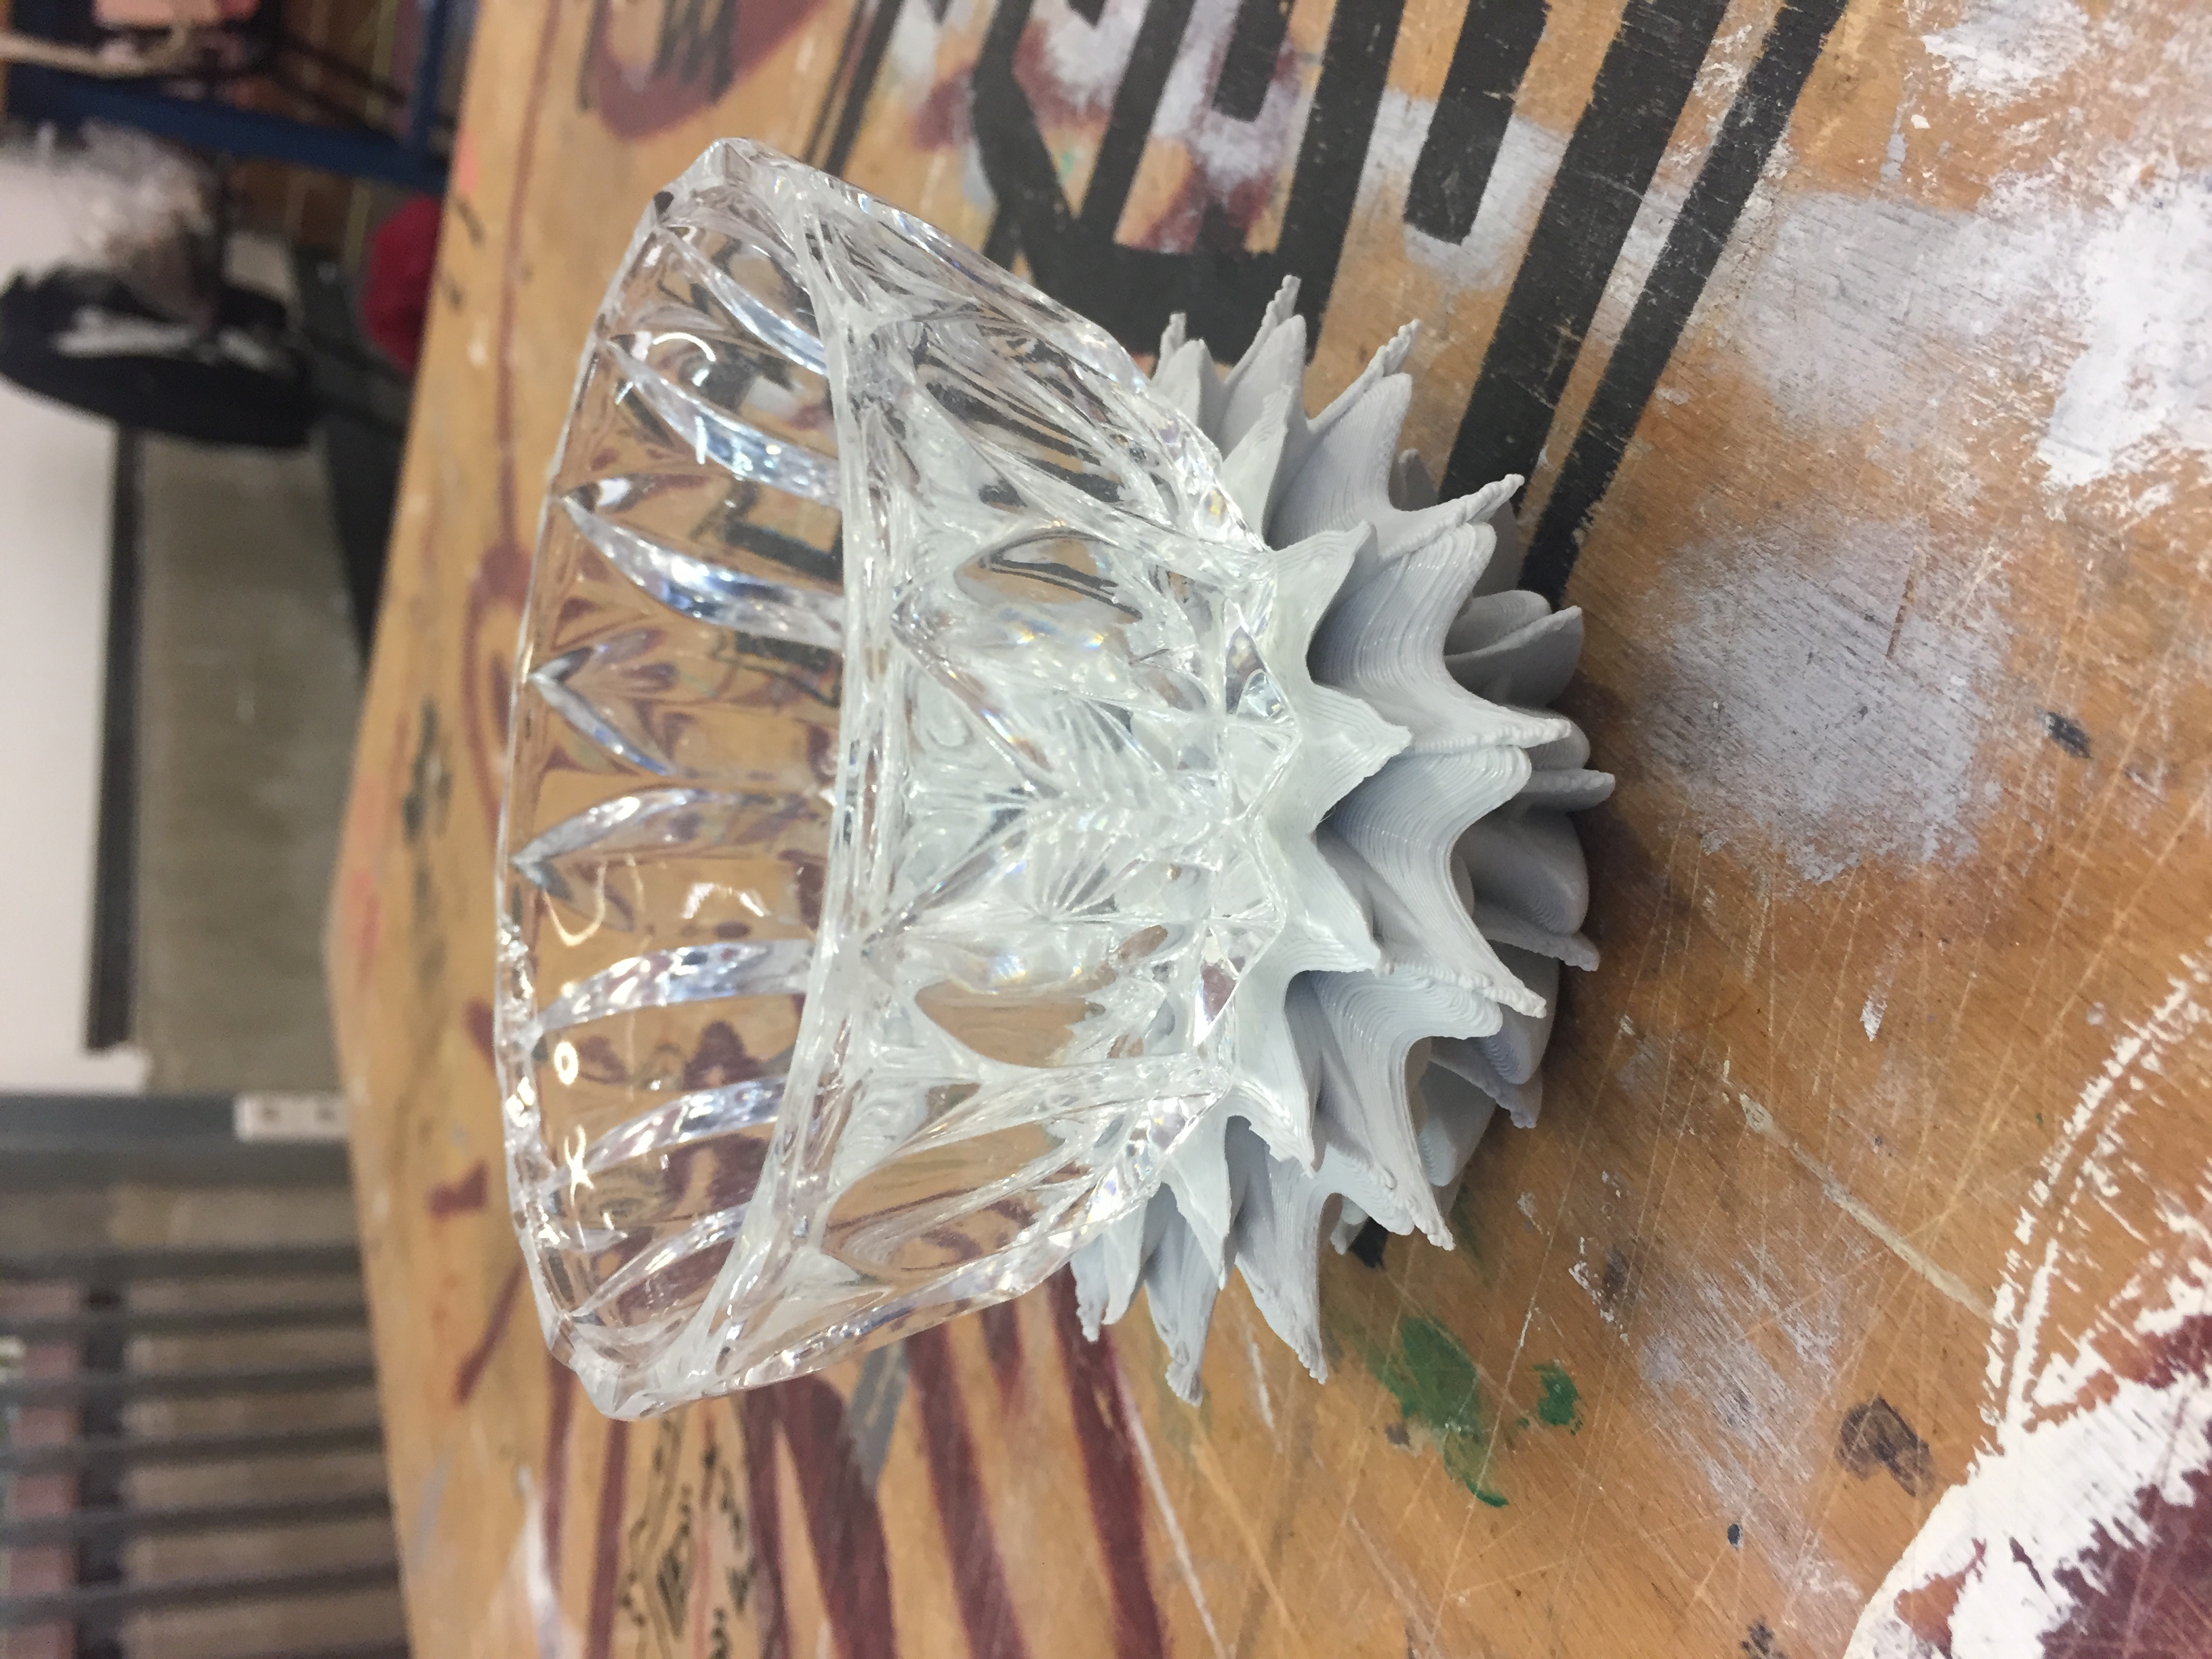
I 3D printed the model that you made to see how it looks in real life
Not yet understanding the rail and sweep yet, so not satisfied with my models
understanding the method of how to make my models/add ons and experimenting with different shapes
next steps
-print out a few to see how it looks
-work with the measurements
-glass research
-make sure the bottom of the bowl fits on the top hole of the mould
-think about the way the mould should look
-choose design
GLASS RESEARCH
https://master-glass.nl/glastechnieken-fusen.html
Stukken glas kunnen in een mal worden gevormd. Deze mallen zijn keramisch of van roestvrij staal en kunnen in de oven worden geplaatst. Door de oven op te stoken tot net onder de tack fuse temperatuur, zakt het glas langzaam in de mal. Dit wordt slumpen genoemd.
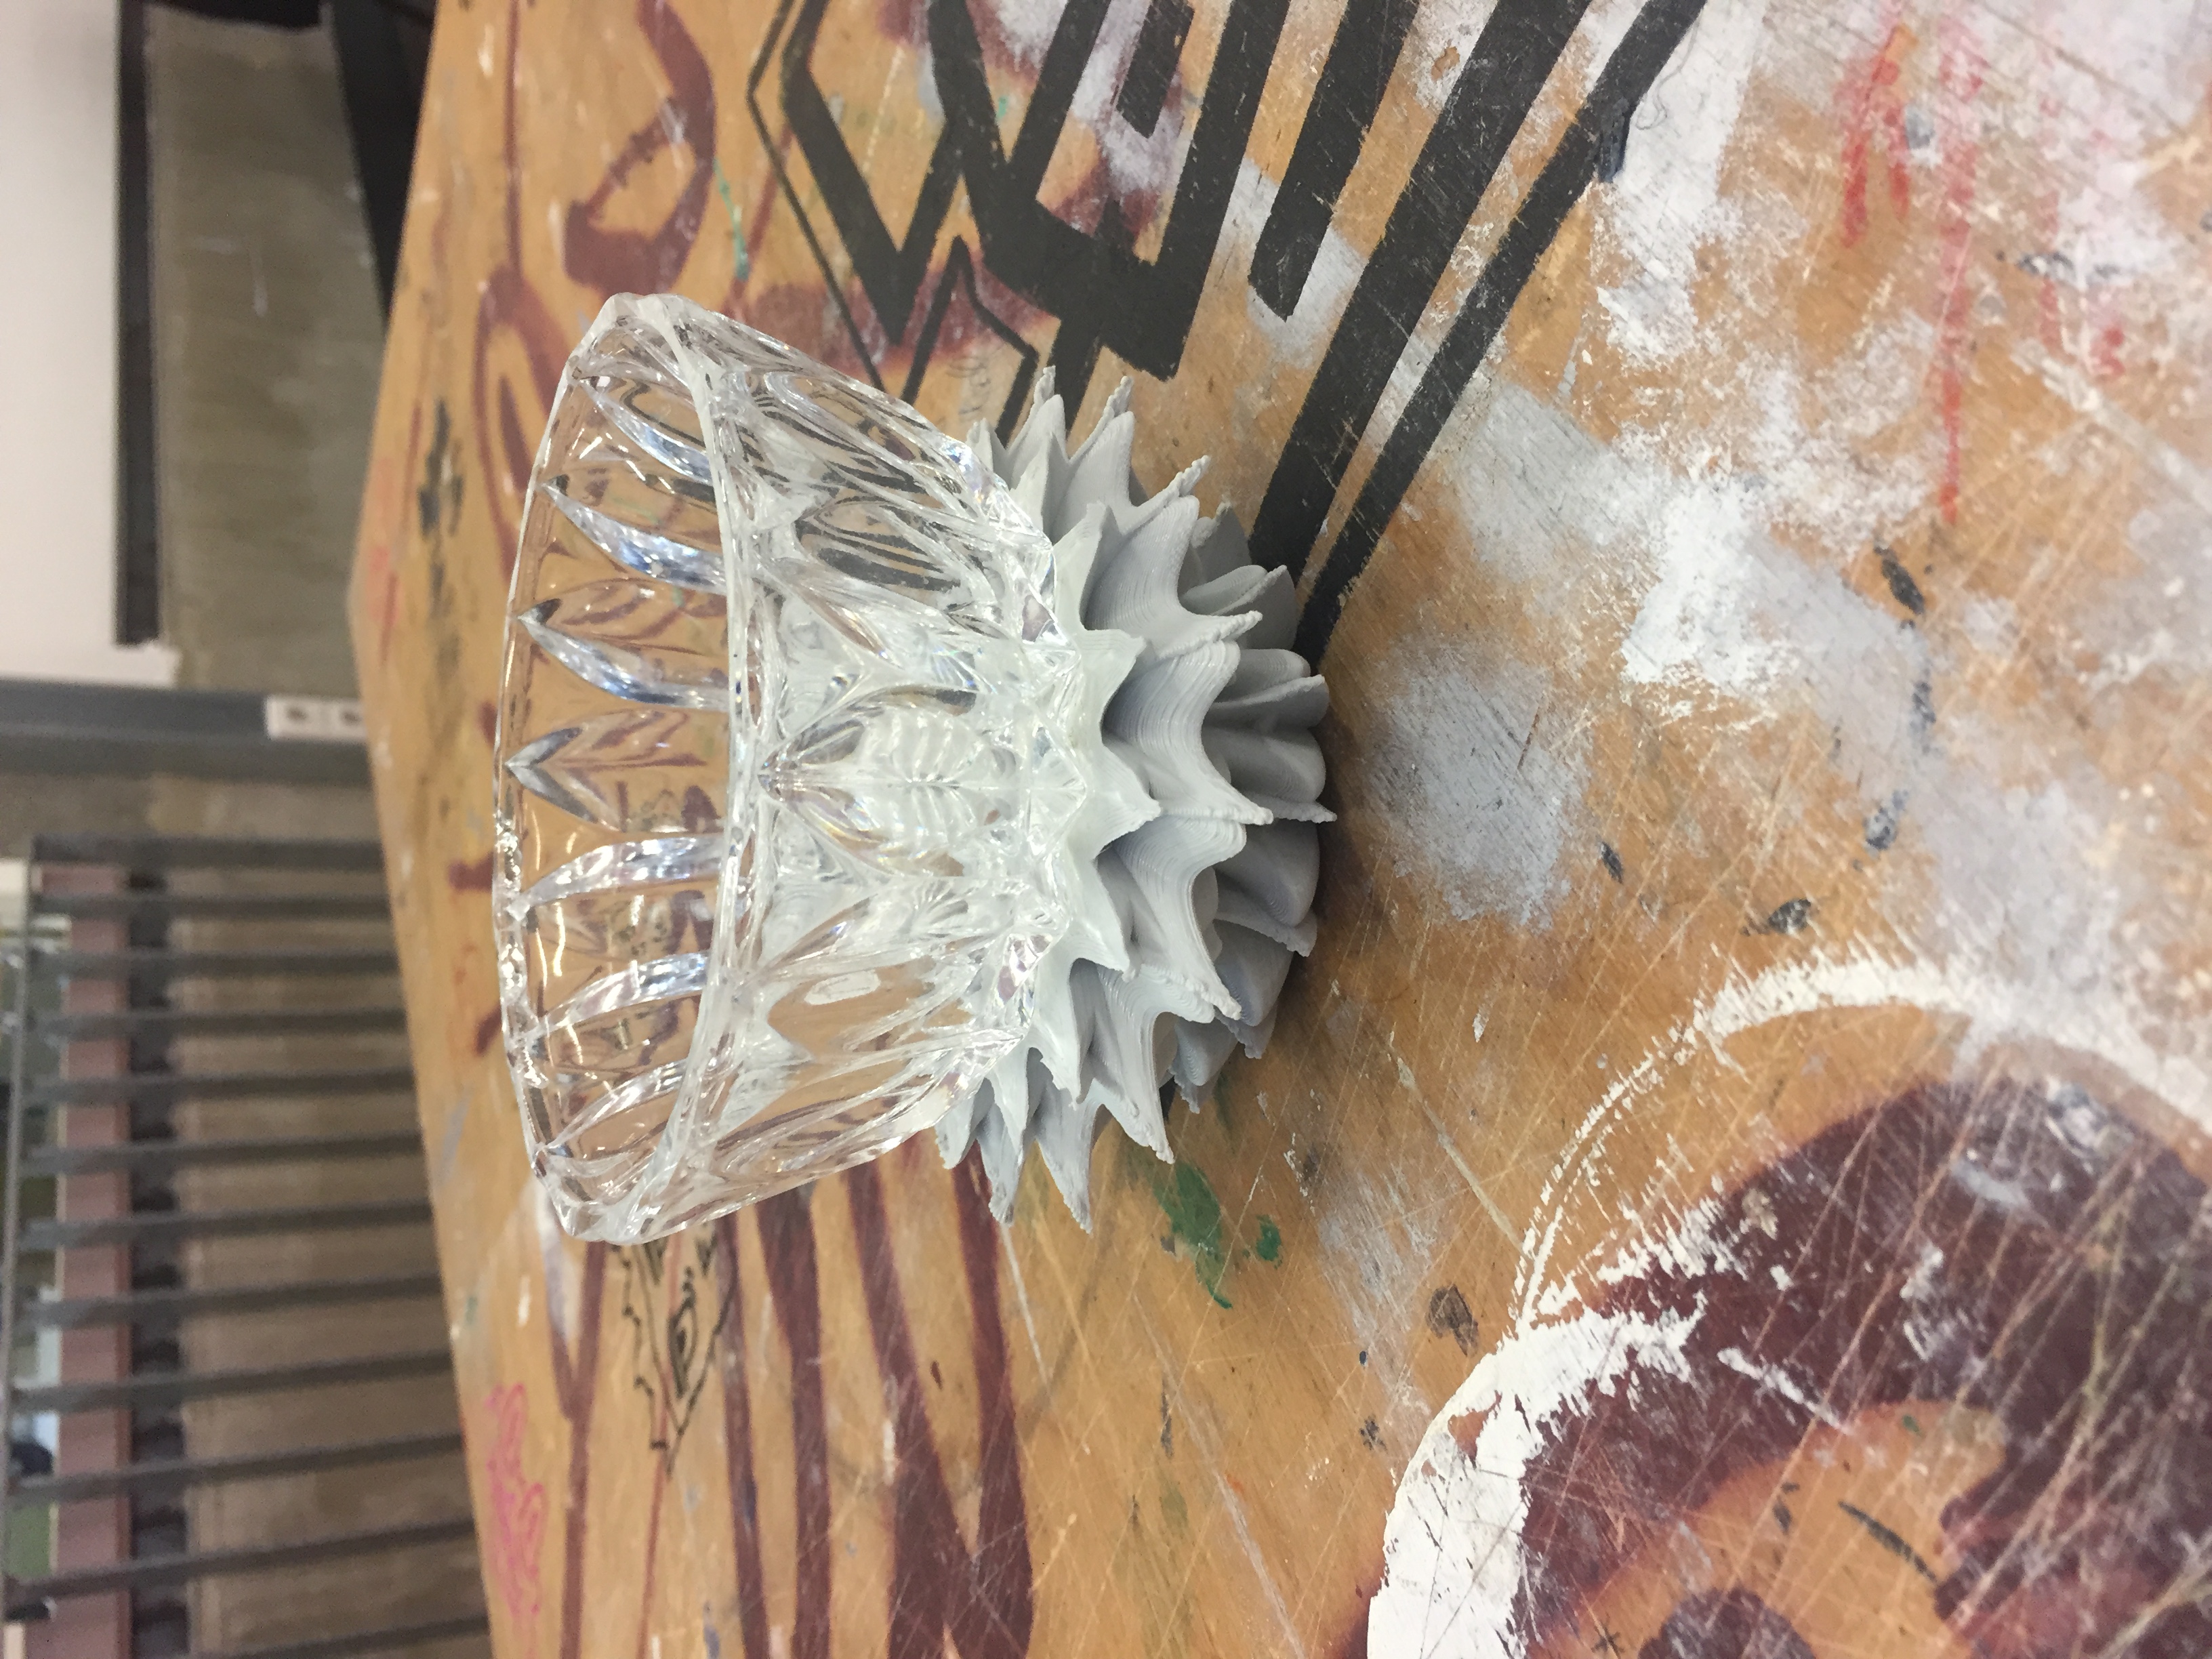
Printed both designs to see how it looks physically.
And so I could decide between the two designs, which one I find more aesthetically pleasing and will fit the design of the crystal bowl as well.
I chose for the second one (the one underneath this square)
Printing the design again, but now on scale, so the crystal bowl will fit on the add-on
Then I can cast the mould and start working with the glass
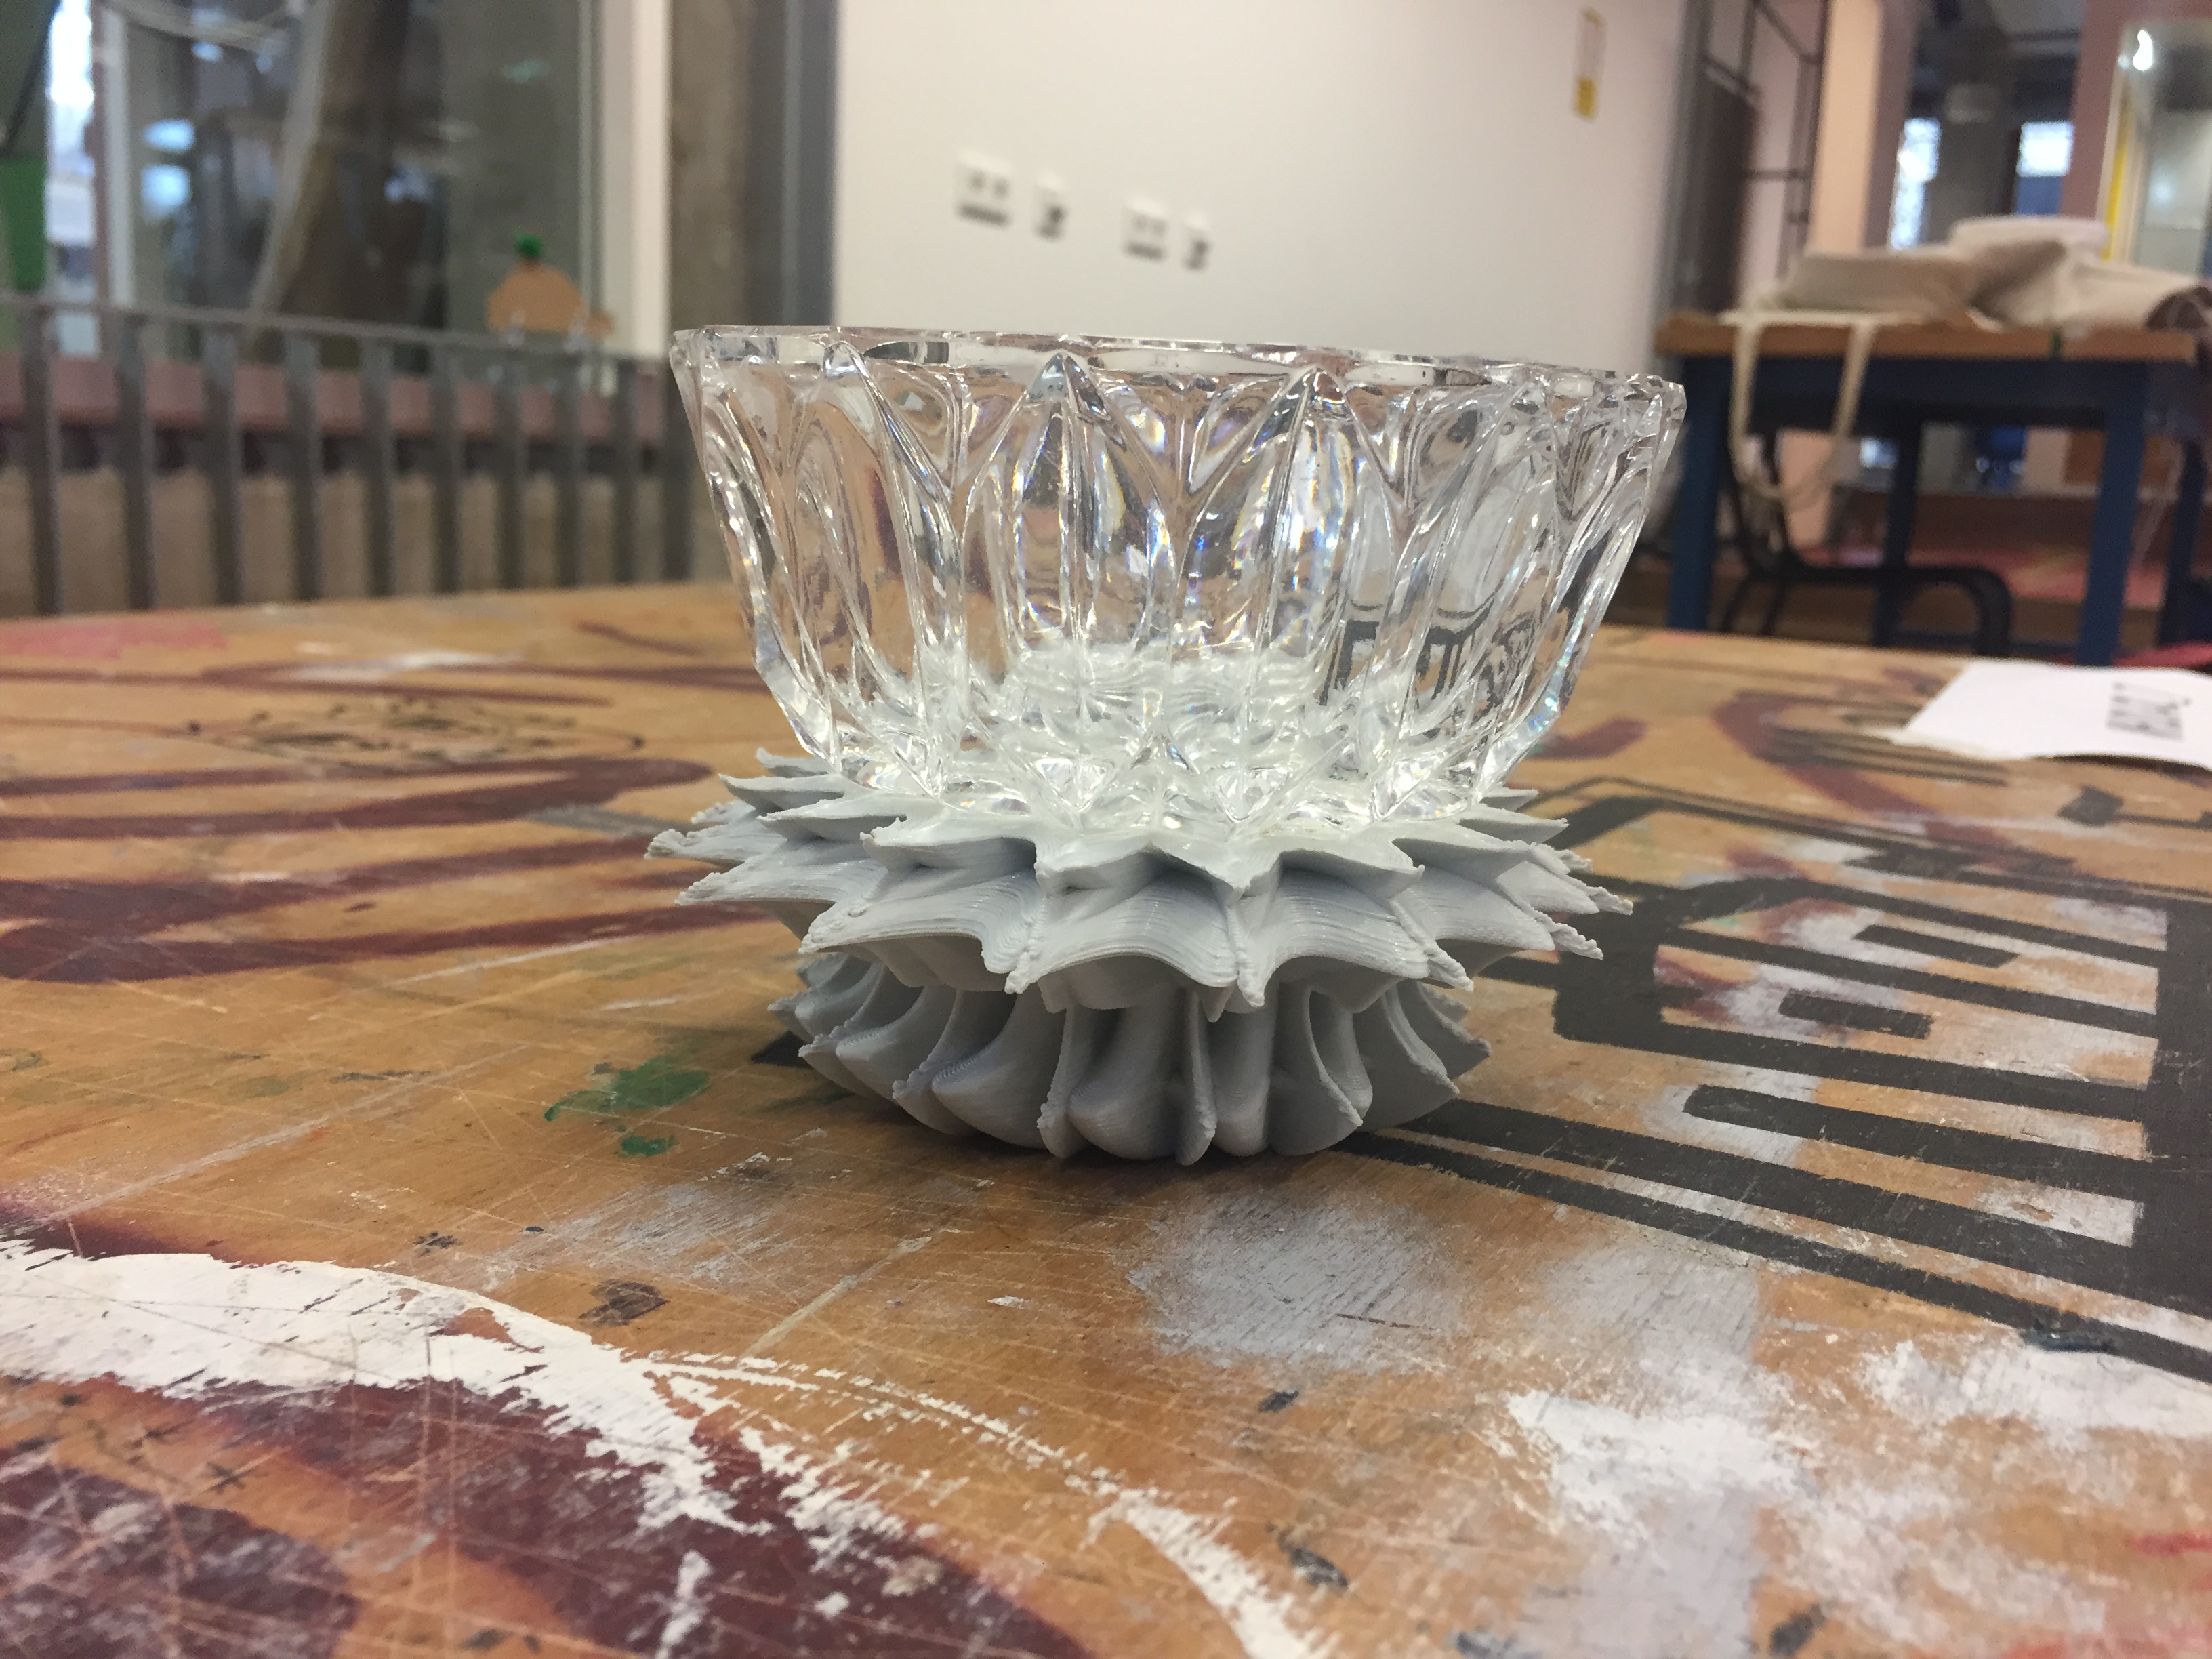
While making these models, I try to look as well from what perspective they look the most interesting
and how they would fit the bowl the best; meaning if the design flows nicely from the bowl to the add-on.
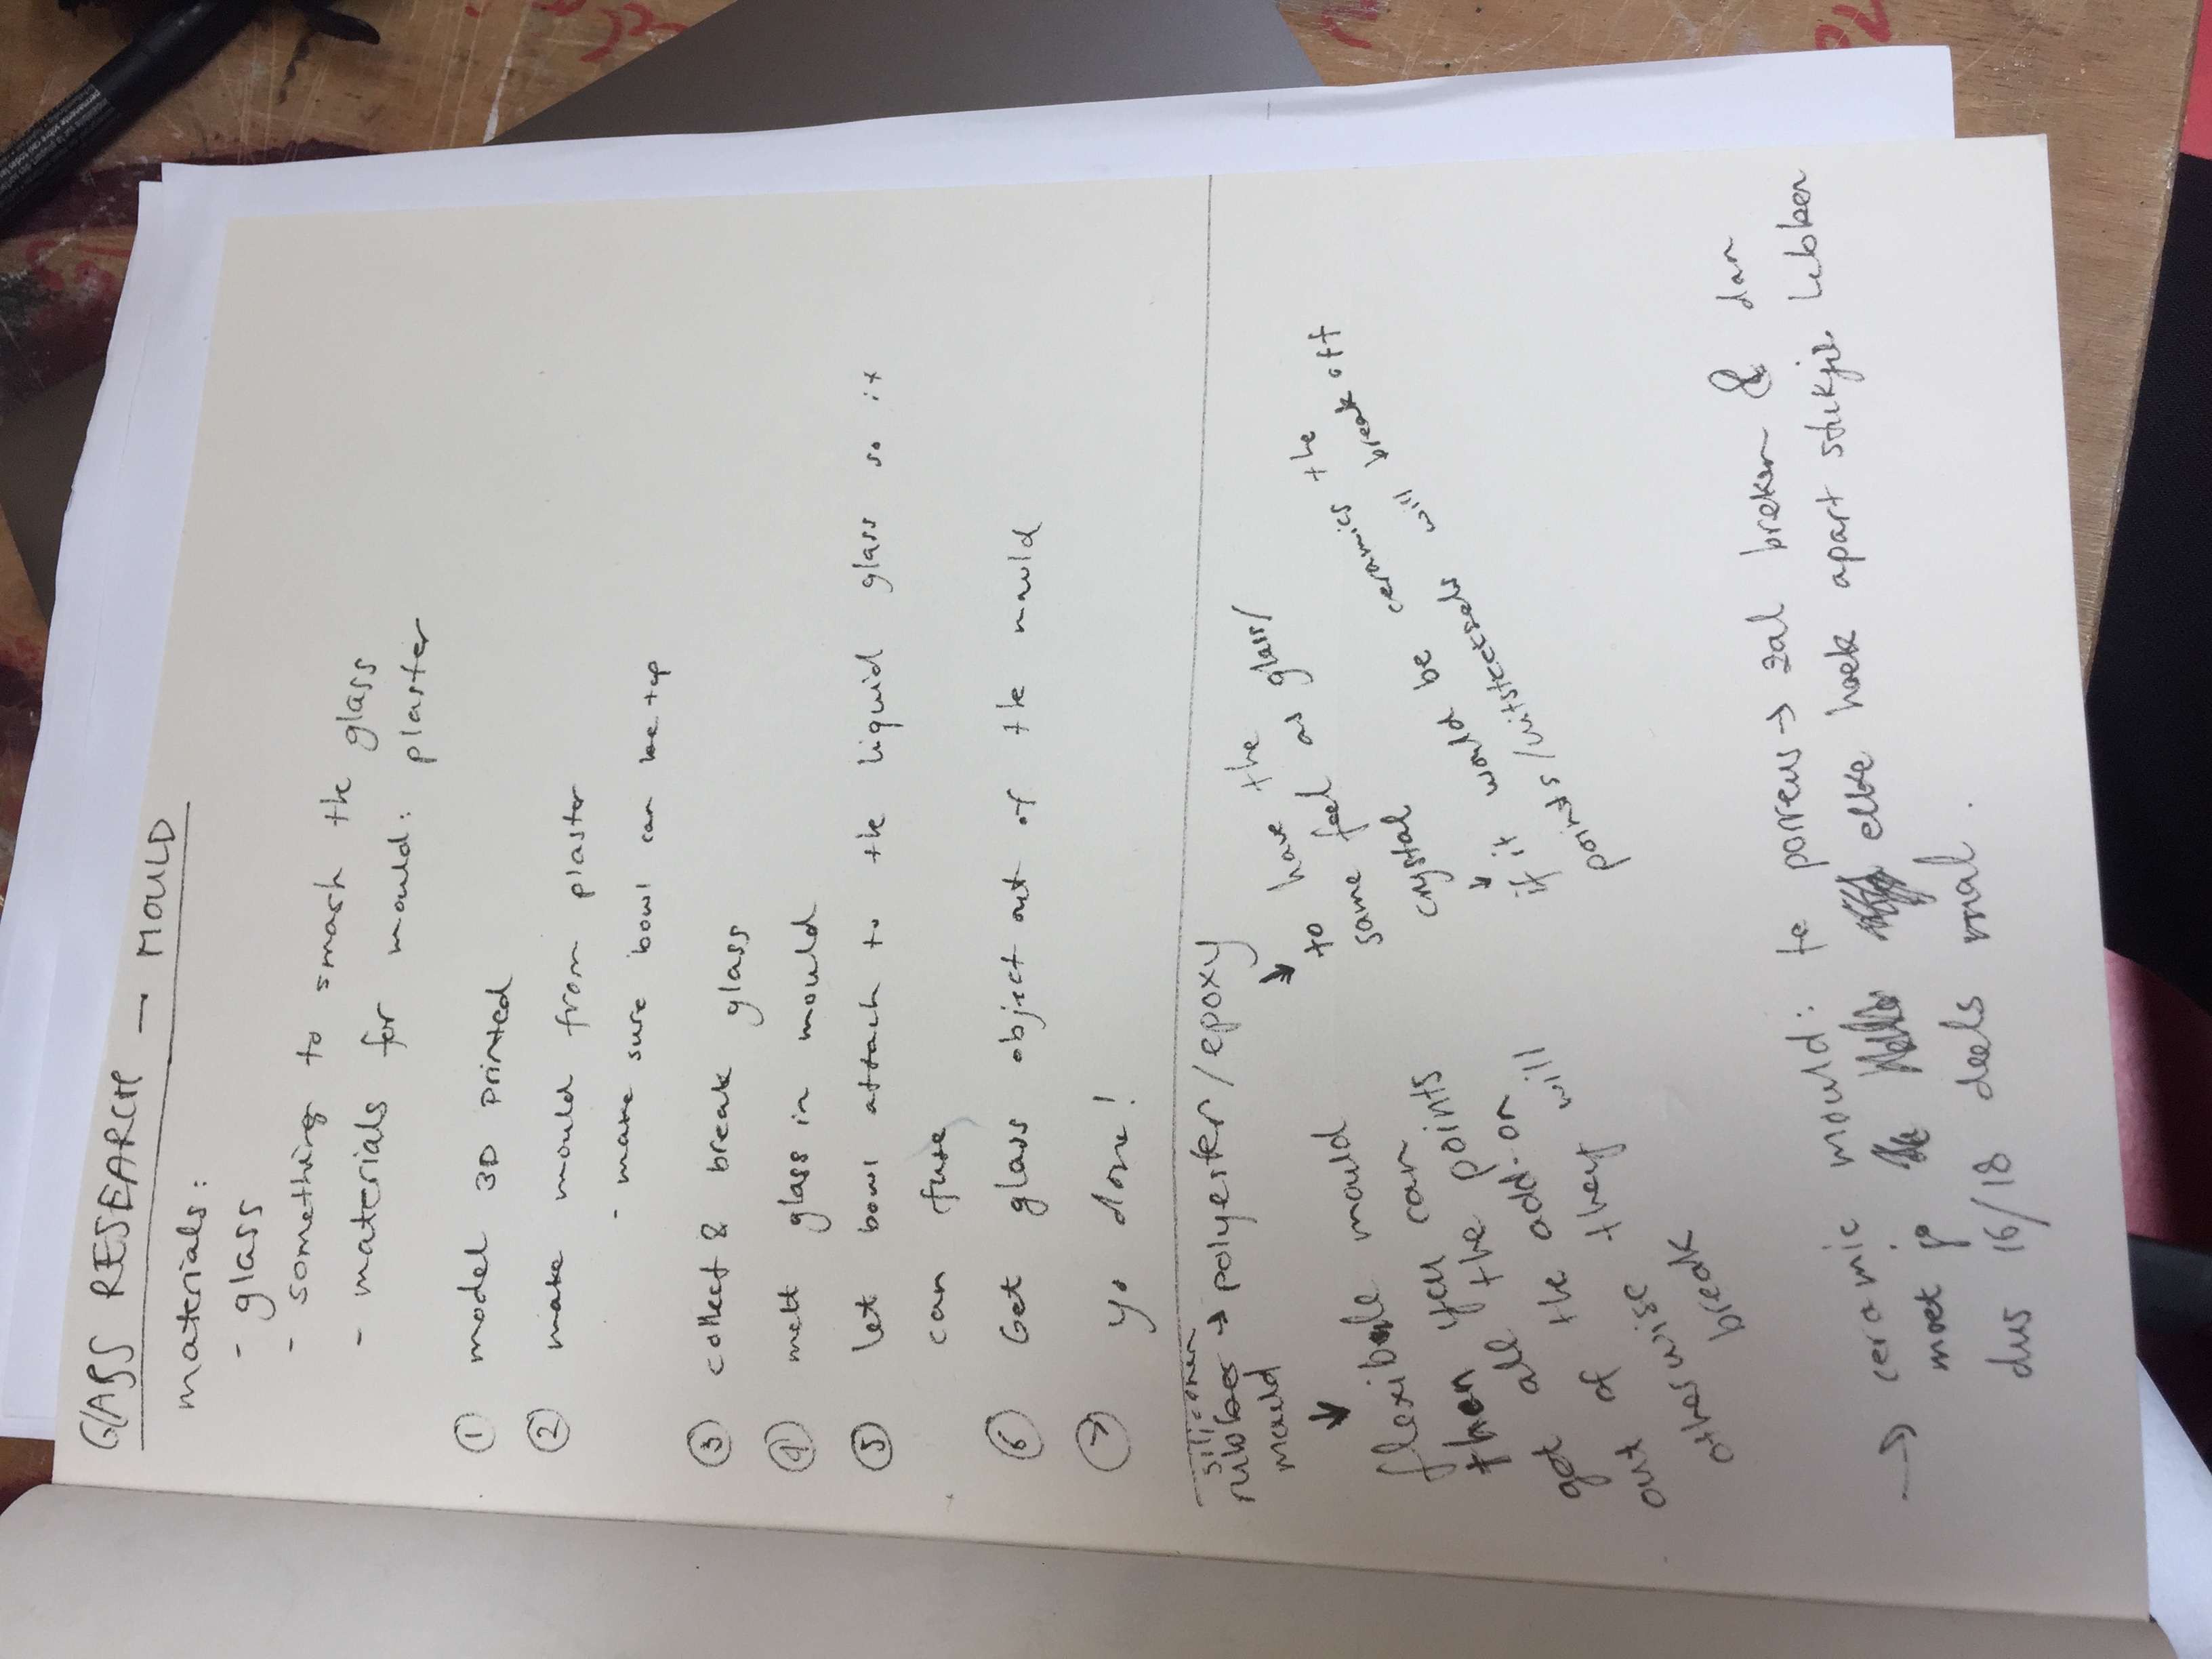
Talked to Patricio about how I could make a mould for my add-on. Turns out it is not possible to use glass for the design that I went for regarding the time I have left to finish it. If I make it from glass I have to make a ceramic mould that can withstand the heat of the firing process. But if I make a ceramic mould I would have to make a modular ceramic mould with 18 different parts to make sure the add-on will come out perfectly. And no breaking edges.
Therefore I chose to make a silicone rubber mould and cast the add-on in epoxy or polyester to still get the 'glass aesthetic feeling'.
The silicone is flexible so it will be easy to make a mould around the 3d printed add-on.
Because crystal and silicone don't fuse I can but the crystal bowl on top of the polyester while in the mould, so that the polyester will get the shape of the bottom of the bowl.
https://www.youtube.com/watch?v=xmr0wpKx7_U
I found out the the bowl 'kind of' fits the bottom part of the add-on as well. So once I've casted the mould I will see how it will look and if the bowl still fits this part. If so then you can choose on which side you want to place the bowl. Cause if the add-on is faced this way, I think the add-on and bowl so as a whole together looks appealing as well.
I think as a whole it looks really good both ways, so it would be nice if you can use it both ways as well.
I want to make the add-on from epoxy with a dark green pigment, to get the wine bottle feeling/color.
When I make the mould from silicone I will keep the top part open so I can press the bowl into the epoxy when I cast the mould
Making the mould
Object I chose to modify
Chose to go for this design
Taking the model out of the mould
Bought 320 gram of epoxy to be able to cast the mould twice.
One will be transparent, the other will be mixed with a dark green pigment. The reason being that I wanted to make the product from glass in the first place, so this way I can still get the glass feeling/touch even though it's epoxy.
Casting the mould
Put a releasing agent on the bottom of the crystal bowl to be sure the epoxy won't attach
I put the bowl on the mould so the product will get the structure of the bowl in it. and I put a measuring cup with water on top to make sure that the bowl was pressed in the epoxy enough
Getting my first product out of my mould
I noticed that the epoxy had clearly attached to my crystal bowl. Even though epoxy is not supposed to do that and I applied a layer of releasing agent in between as well to be sure
I did see that their was an air bubble, so I pushed the scissor between the bowl and the epoxy until it reached the air bubble so I could detach them and that worked
I tried with a knife to cut the edges a bit loose, with warm water and air pressure, but it all didn't work
I thought the epoxy would be way more glass like and see through, I was not pleasantly surprised once I saw this outcome - Patritio told me if I would go over it with a thin layer of epoxy it would get the aesthetics that I wanted
Figuring out a way with my mould to cast my product, because if I would do it the same way I will get an air bubble again
In the end I went for the 3, because I would have one product with the bottom of the bowl and one that has the aesthetics it should have without me breaking it a bit bc the bowl won't detach
I did not want to sand the product, because I love that you can still see the 3D print structure in the epoxy
Casting my second product in the mould with a green pigment
I added another layer of epoxy with a brush
It looks way better - I do see little bits of lay in the epoxy - so I have to clean my mould better before casting to prevent this from happening
Here you see the product is quite damaged because of the struggle of getting the bowl off
I find it funny to see the difference between where the air bubble is and the whole inside being clear and then the outside being kind of milky
The bowl does fit the epoxy add-on perfectly
Taking product out of mould
Sadly I don't have any epoxy anymore to make it look shiny, but I don't mind that much, with the green it still looks nice
FINAL PRODUCT